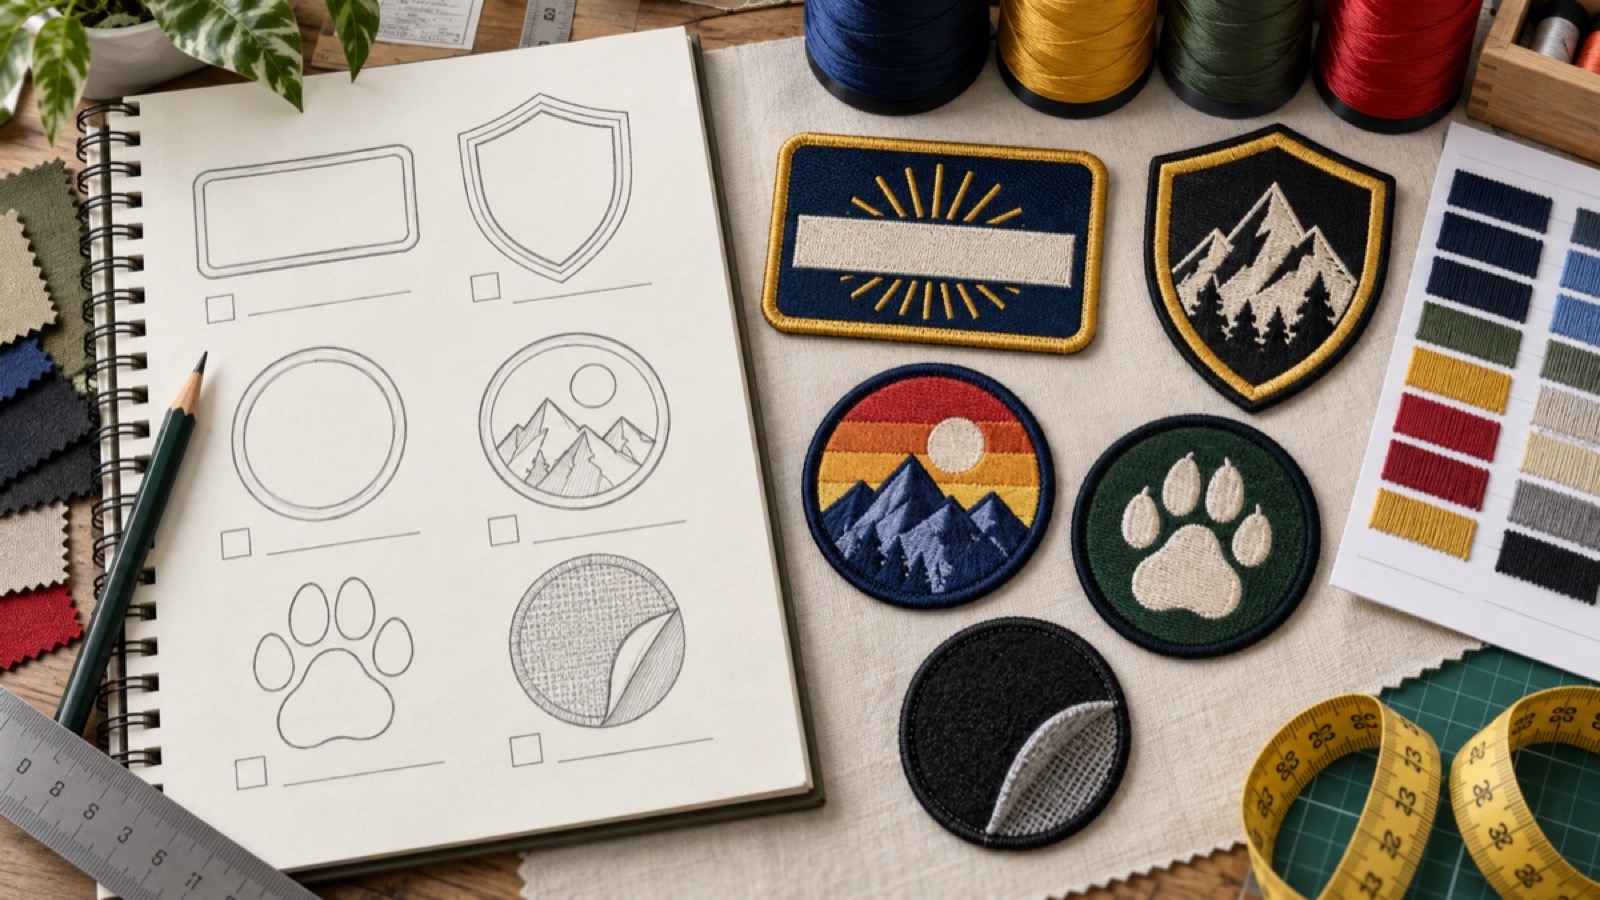
Embroidery Patch Design Checklist: Artwork Tips Before Production
Kashidha Designs
September 12, 2026
A good custom patch starts before the machine runs. The artwork, size, text, colours, border, and backing all affect how the final embroidered patch will look. If the design is not embroidery-friendly, the patch can become unclear, heavy, or difficult to reproduce.
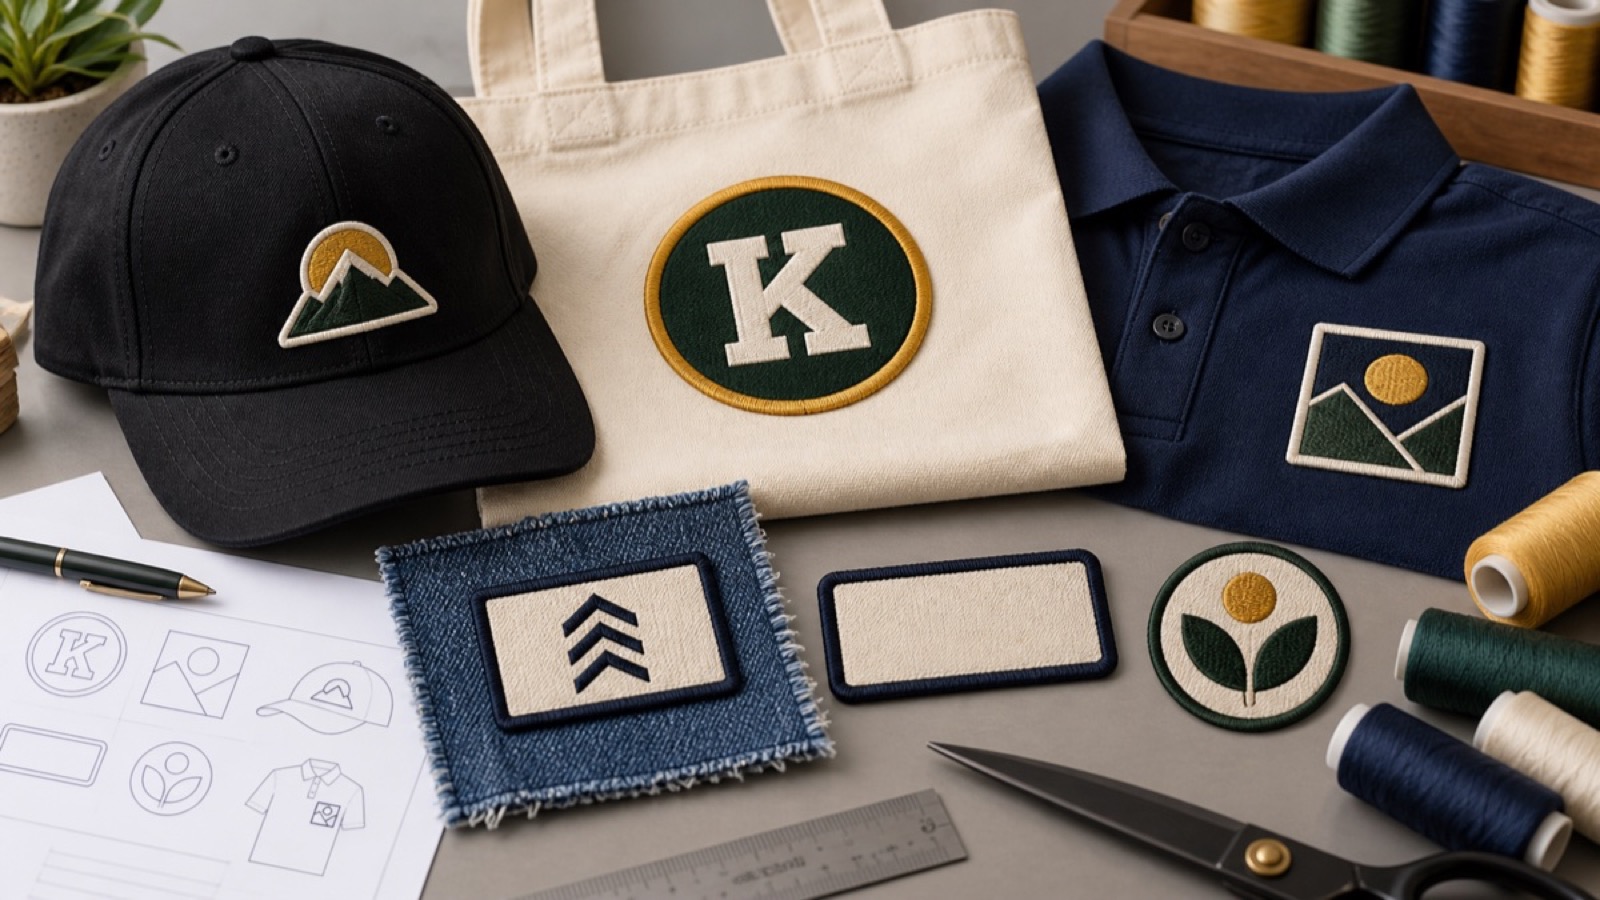
Use this checklist before sending your patch design for production. It is useful for logo patches, school badges, biker patches, uniform badges, event badges, caps, bags, and keychain-style embroidered badges.
1. Check the final patch size
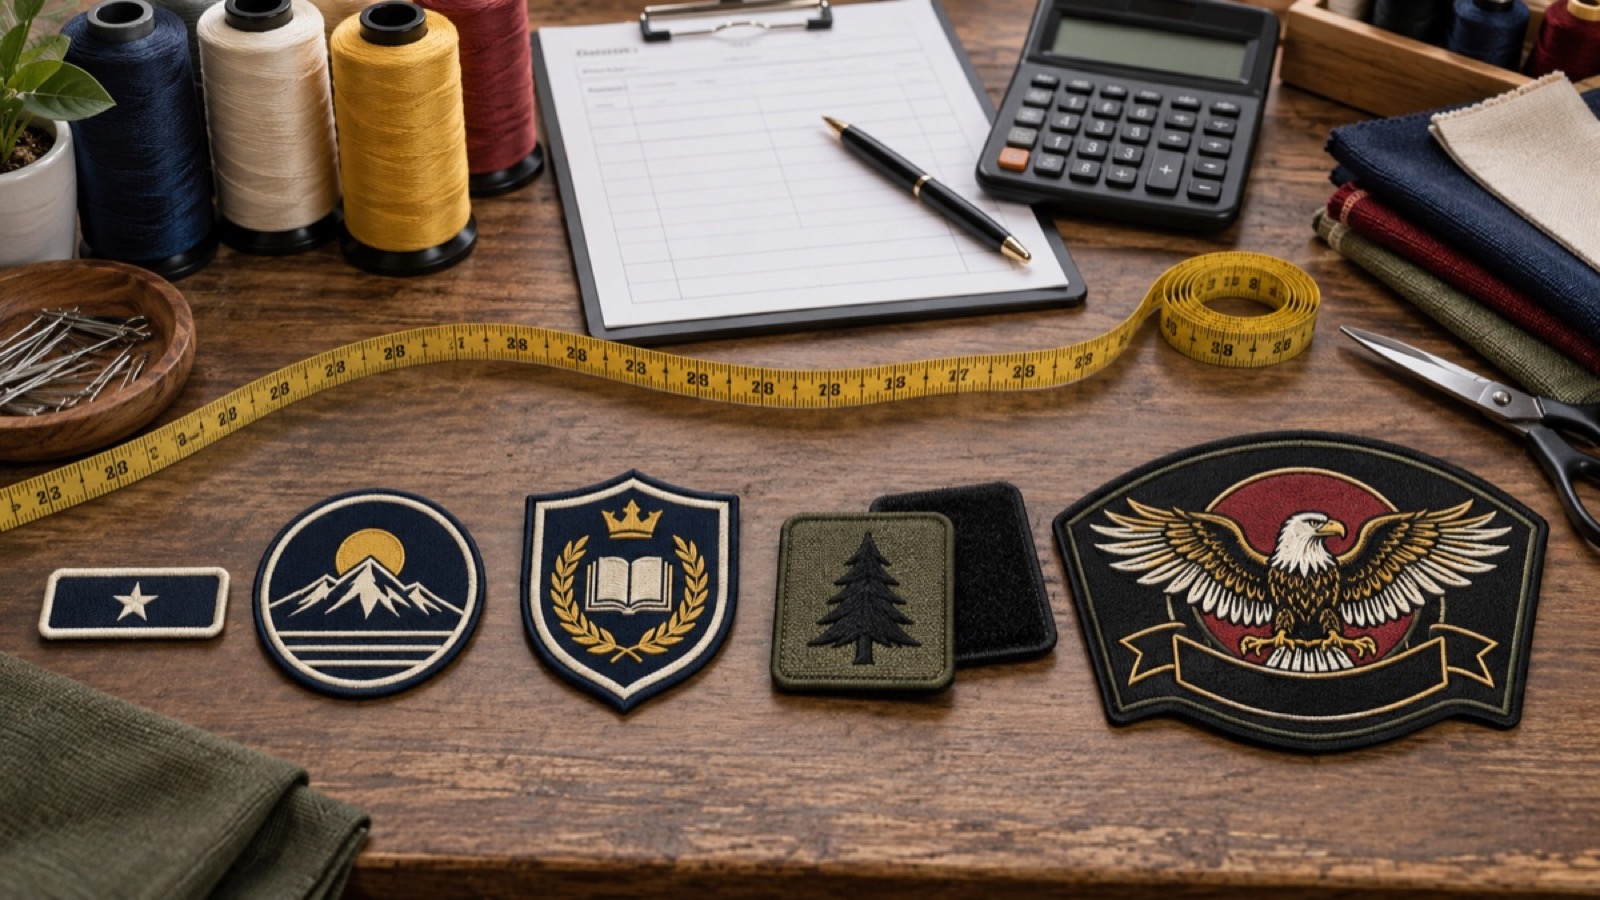
Artwork should be reviewed at the actual patch size. A design that looks clear on a large phone screen may become unreadable on a 2.5 inch badge. If small text is important, increase the size or simplify the design.
2. Make text readable
Patch text should be bold, simple, and large enough for thread. Avoid very thin fonts and tiny taglines. If a logo has a small slogan, consider removing it or making the patch larger.
3. Simplify gradients and shadows
Embroidery cannot reproduce screen gradients exactly. Convert gradients, shadows, and photo effects into solid thread colours. This makes the patch cleaner and easier to repeat in bulk.
4. Use strong contrast
Thread colours should stand apart from the base fabric. Navy text on black twill or gold text on beige fabric may lose impact. Strong contrast helps the badge read from a distance.
5. Choose the right border
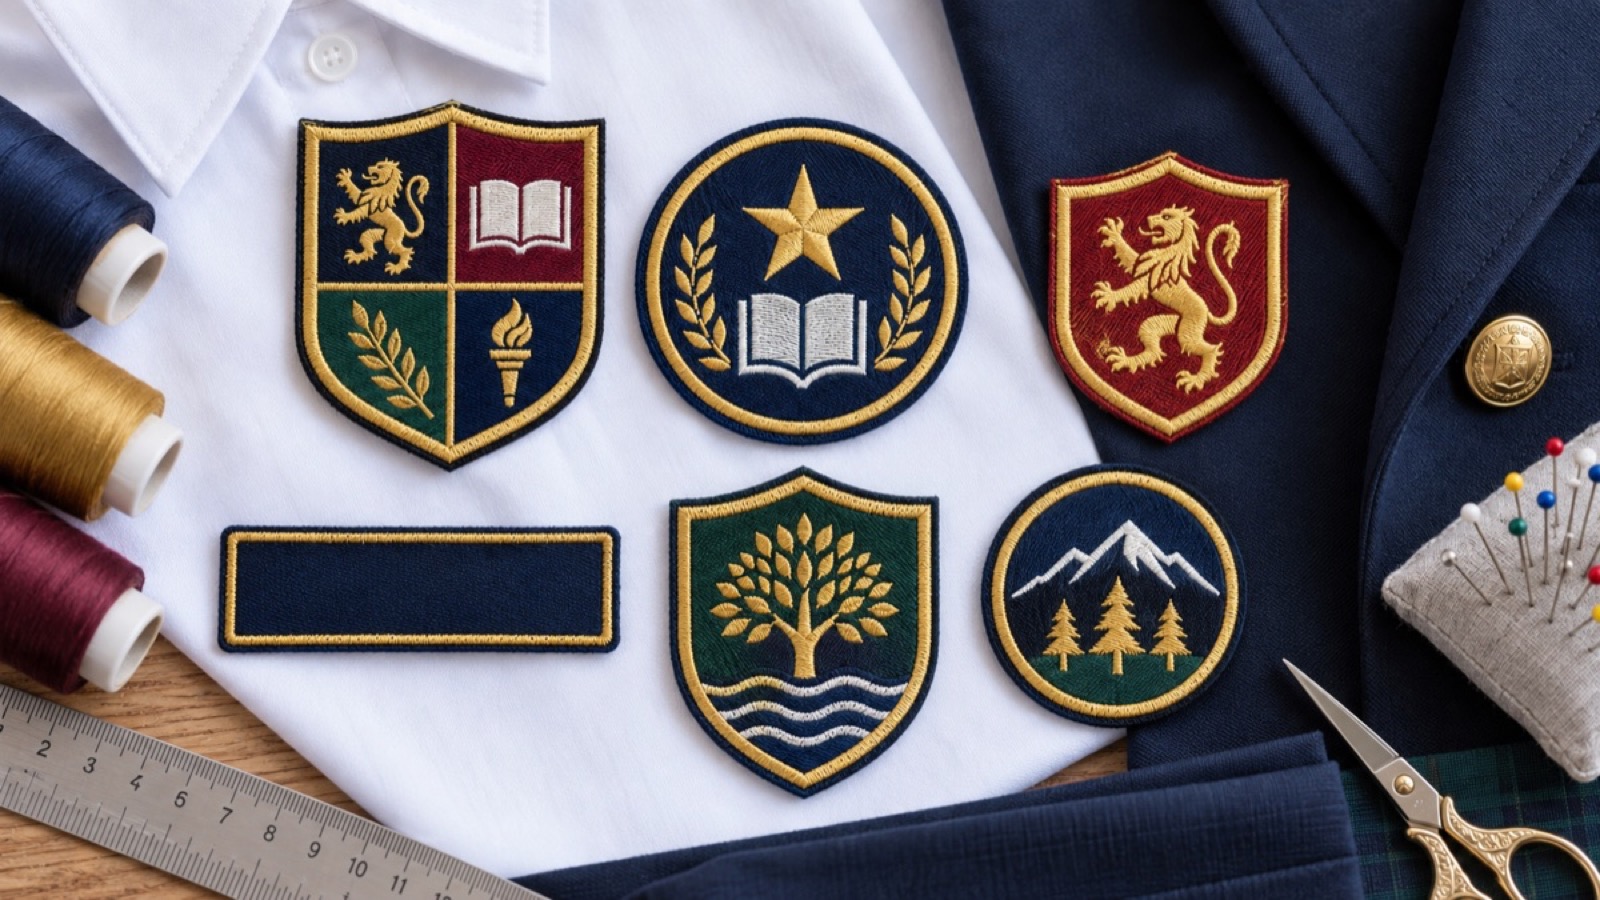
A good border protects the edge and gives the patch a finished look. Merrowed borders are good for simple shapes. Satin borders are better for custom outlines, wings, animals, and shield shapes.
6. Choose backing based on usage
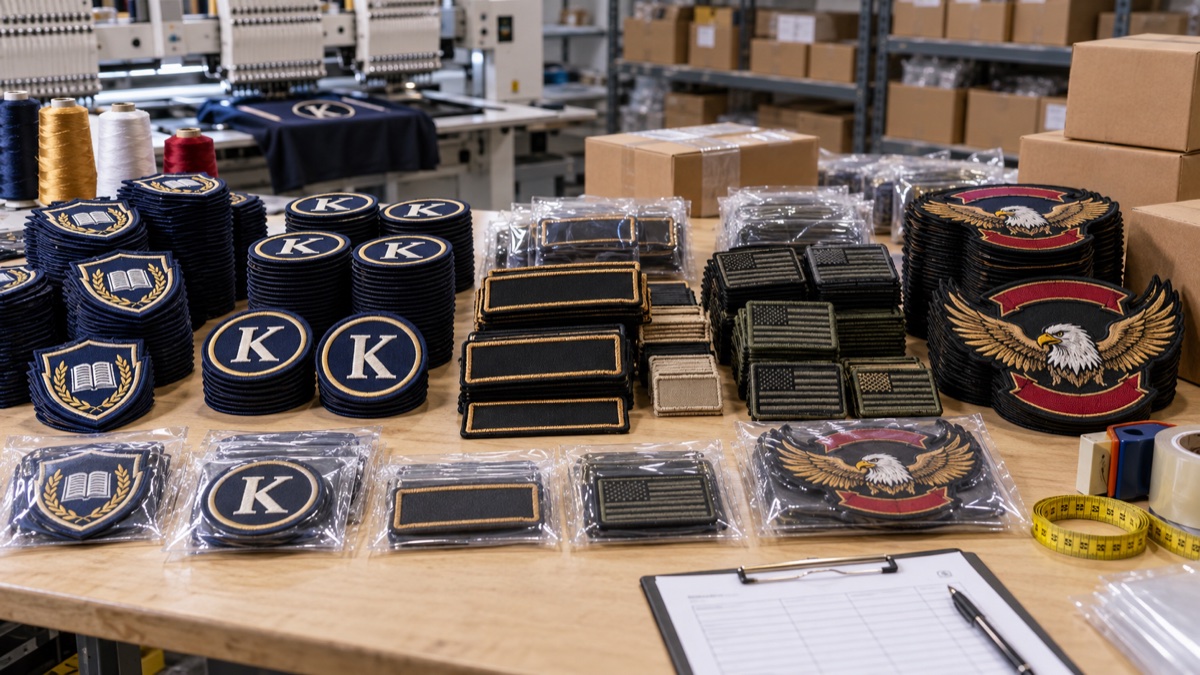
- Sew-on: best for uniforms, jackets, school badges and long-term use.
- Iron-on: useful for casual products and quick application.
- Velcro: best for removable morale patches, caps, tactical gear, and role badges.
7. Avoid impossible detail
Very small faces, thin outlines, tiny stars, detailed fur, miniature maps, and photo-realistic textures can be hard to stitch cleanly. The strongest patches use clear shapes and purposeful detail.
8. Prepare your enquiry message
Before asking for a quote, prepare these details:
- Patch artwork or reference image
- Final patch size
- Quantity
- Backing type
- Border preference if known
- Where the patch will be used
- Delivery city and deadline
Quick production-friendly checklist
| Question | Why it matters |
|---|---|
| Is the text readable at final size? | Prevents blurry or unclear embroidery. |
| Are colours limited and clear? | Improves consistency and cost control. |
| Is backing selected? | Ensures the patch works for the garment. |
| Is the border suitable? | Keeps the patch durable and neat. |
For expert help, send your artwork through the WhatsApp CTA on our custom embroidered patches page. For product ideas, visit the patches and badges collection.
FAQ
Can detailed artwork be simplified for embroidery?
Yes. The goal is to keep the identity of the design while making it practical for thread and patch size.
Which file is best for patch artwork?
A clean logo file, high-resolution image, PDF, or clear reference works better than a blurry screenshot.
Should I approve a sample before bulk order?
For large or repeat orders, sample approval is helpful because it confirms size, colours, backing, and overall finish.
Written by
Kashidha Designs
Related Articles