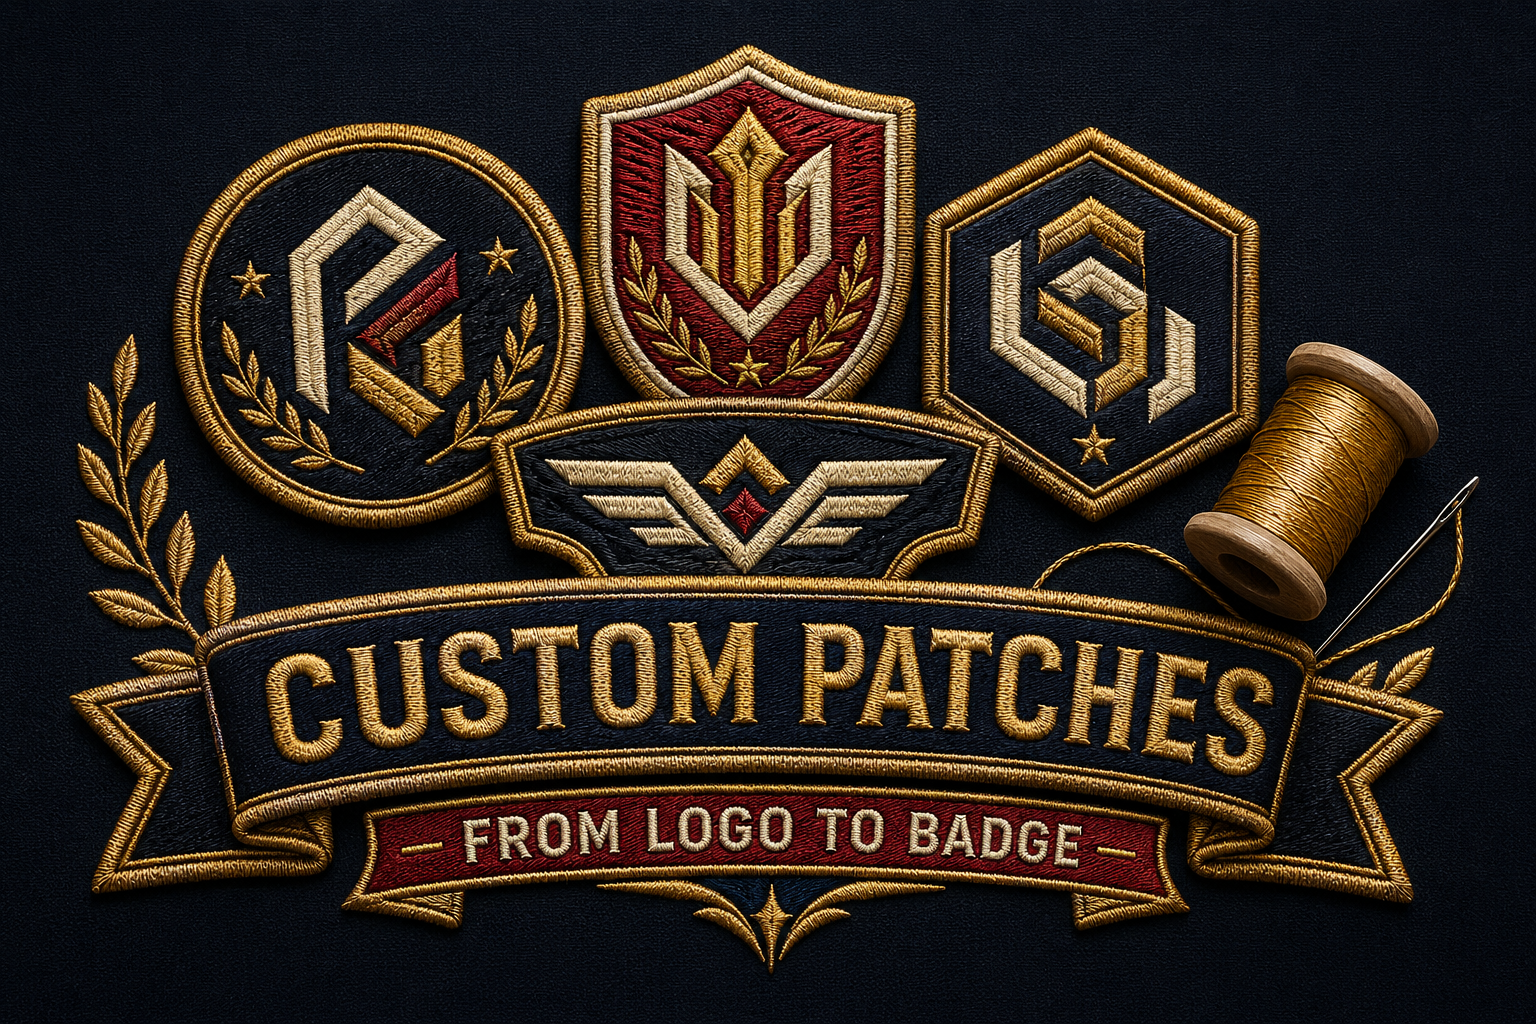
Custom Patches 101: From Your Logo to a Wearable Badge
Kashidha Designs
June 26, 2026
A custom patch is one of the most flexible ways to wear a brand. Instead of stitching a logo directly onto a garment, you create a self-contained embroidered badge that can be attached almost anywhere — and moved, replaced or collected. From workwear and uniforms to caps, bags and jackets, patches turn a simple logo into something people genuinely want to wear.
Here is a friendly, complete introduction to custom embroidered patches.
What exactly is an embroidered patch?
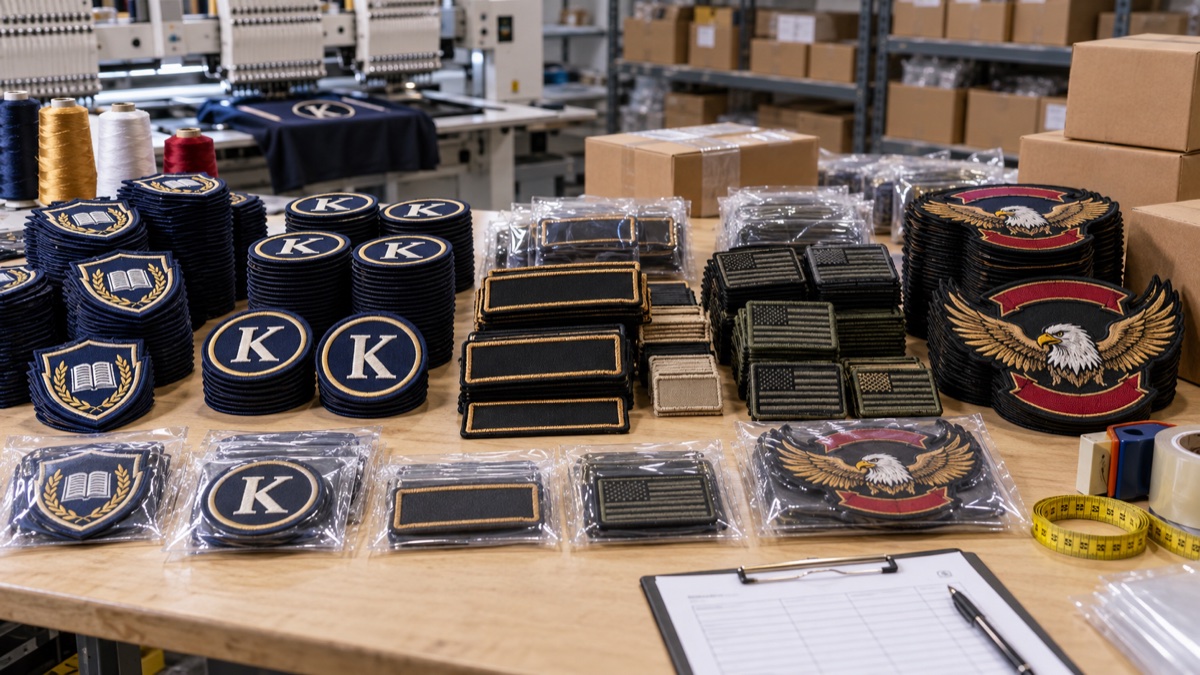
An embroidered patch is your design stitched densely onto a backing fabric and finished with a clean border, ready to attach to almost any surface. Because the badge is made separately, the embroidery can be rich and detailed without affecting the garment underneath — and the same patch can be applied to many different products.
Why choose a patch over direct embroidery?
- Versatile. One design works across jackets, caps, bags, aprons and more.
- Premium feel. A bordered, raised patch reads as crafted and collectible.
- Easy to apply and replace. Great for uniforms, events and seasonal updates.
- Protects delicate items. No stitching directly into thin or stretchy fabric.
Backing options: how a patch attaches
The backing decides how the patch is fixed to a garment. The common choices:
- Sew-on. The most secure and traditional — ideal for items washed often.
- Iron-on. A heat-activated backing for quick, no-sew application on sturdy fabrics.
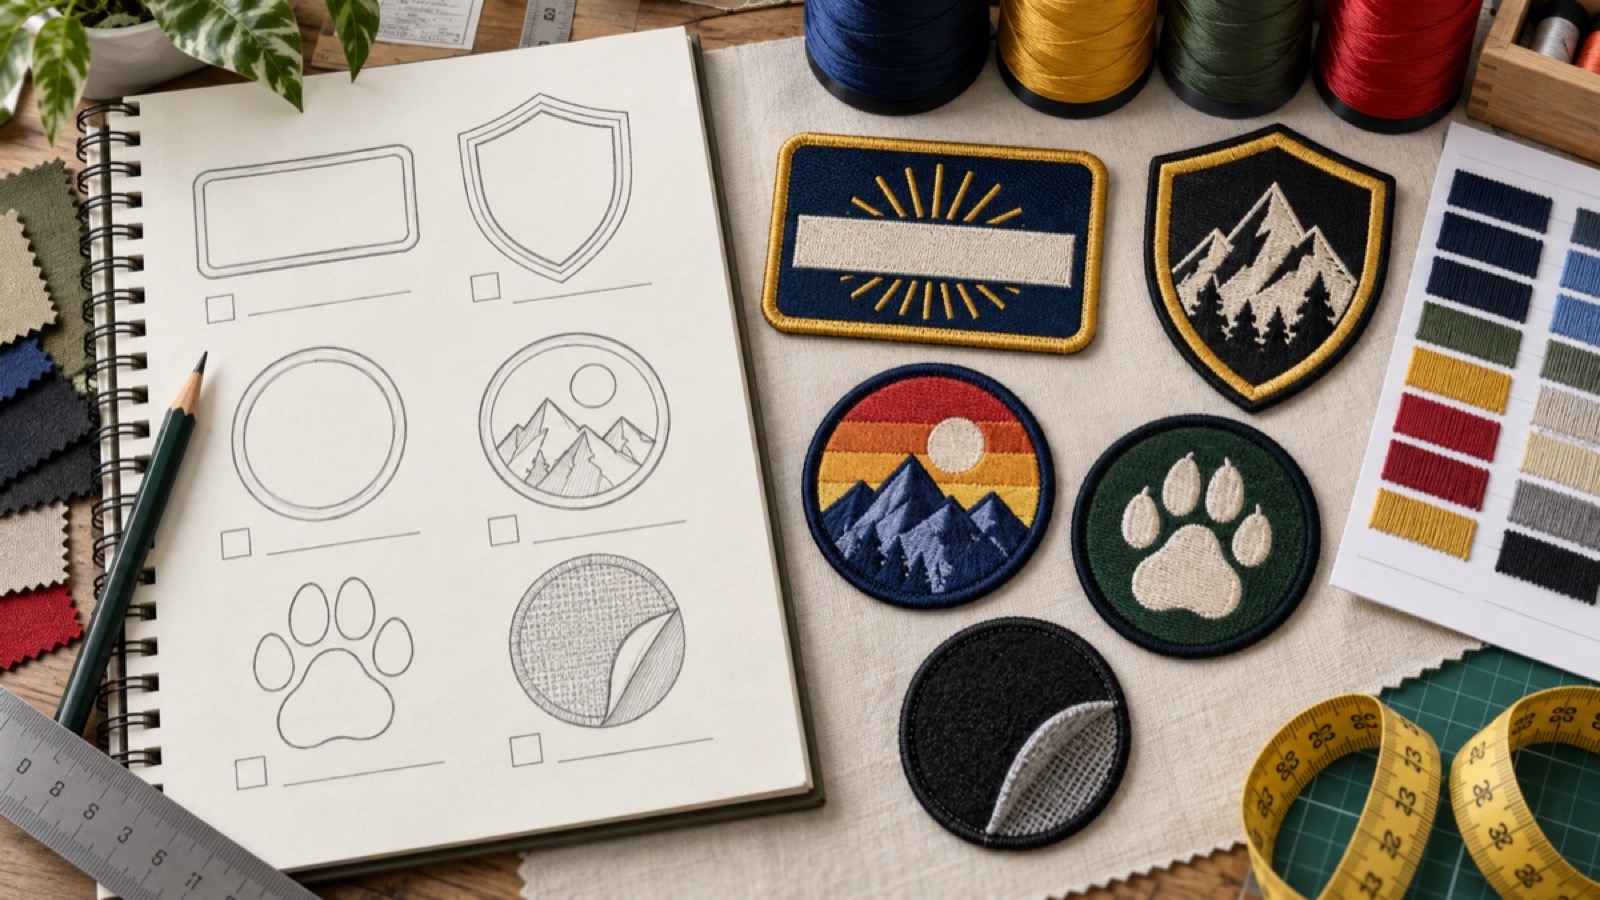
- Hook-and-loop (velcro). Removable and swappable — perfect for uniforms and tactical gear.
- Adhesive. Peel-and-stick for short-term or promotional use.
Borders and shapes
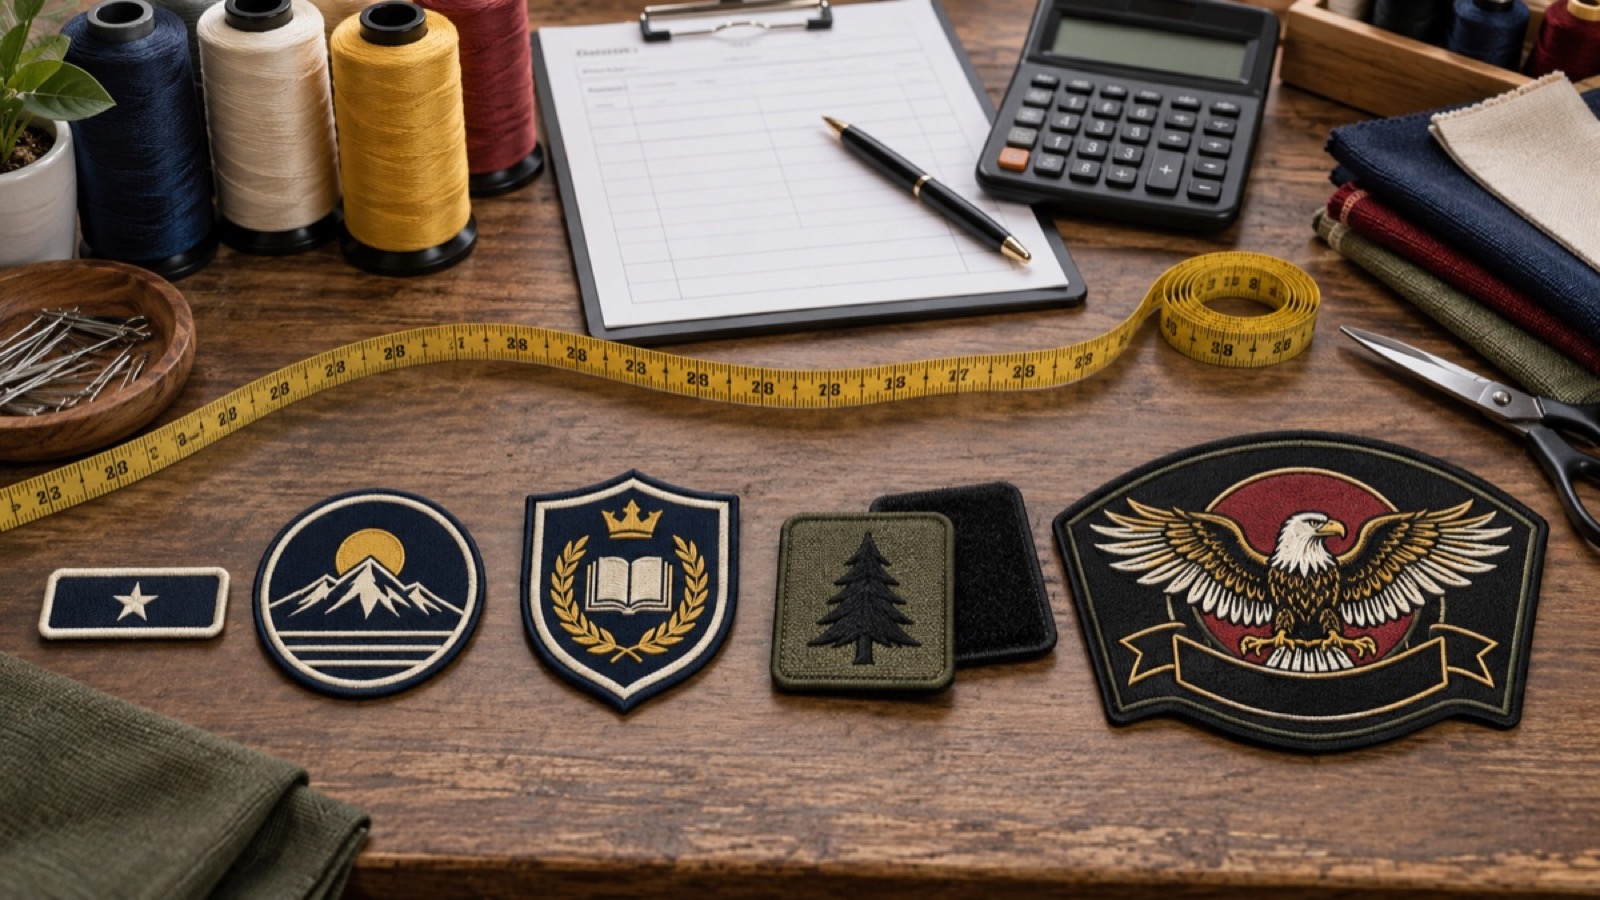
Patches come in any shape — circles, shields, hexagons, rectangles or fully custom outlines that follow your logo. The border matters too: a tight stitched (merrowed) edge gives a classic, durable finish, while a heat-cut border can hug intricate shapes precisely.
The shape and border are not just decoration — they are what makes a patch feel finished, premium and built to last.
Designing a patch that works
- Keep it bold. Strong shapes and clear lines read better than fine detail at small sizes.
- Limit the colours. A focused palette looks sharper and more premium.
- Mind the size. Make sure text stays legible at the final patch dimensions.
- Pick the backing for the use. Washable item? Sew-on. Swappable? Velcro.
Where patches shine
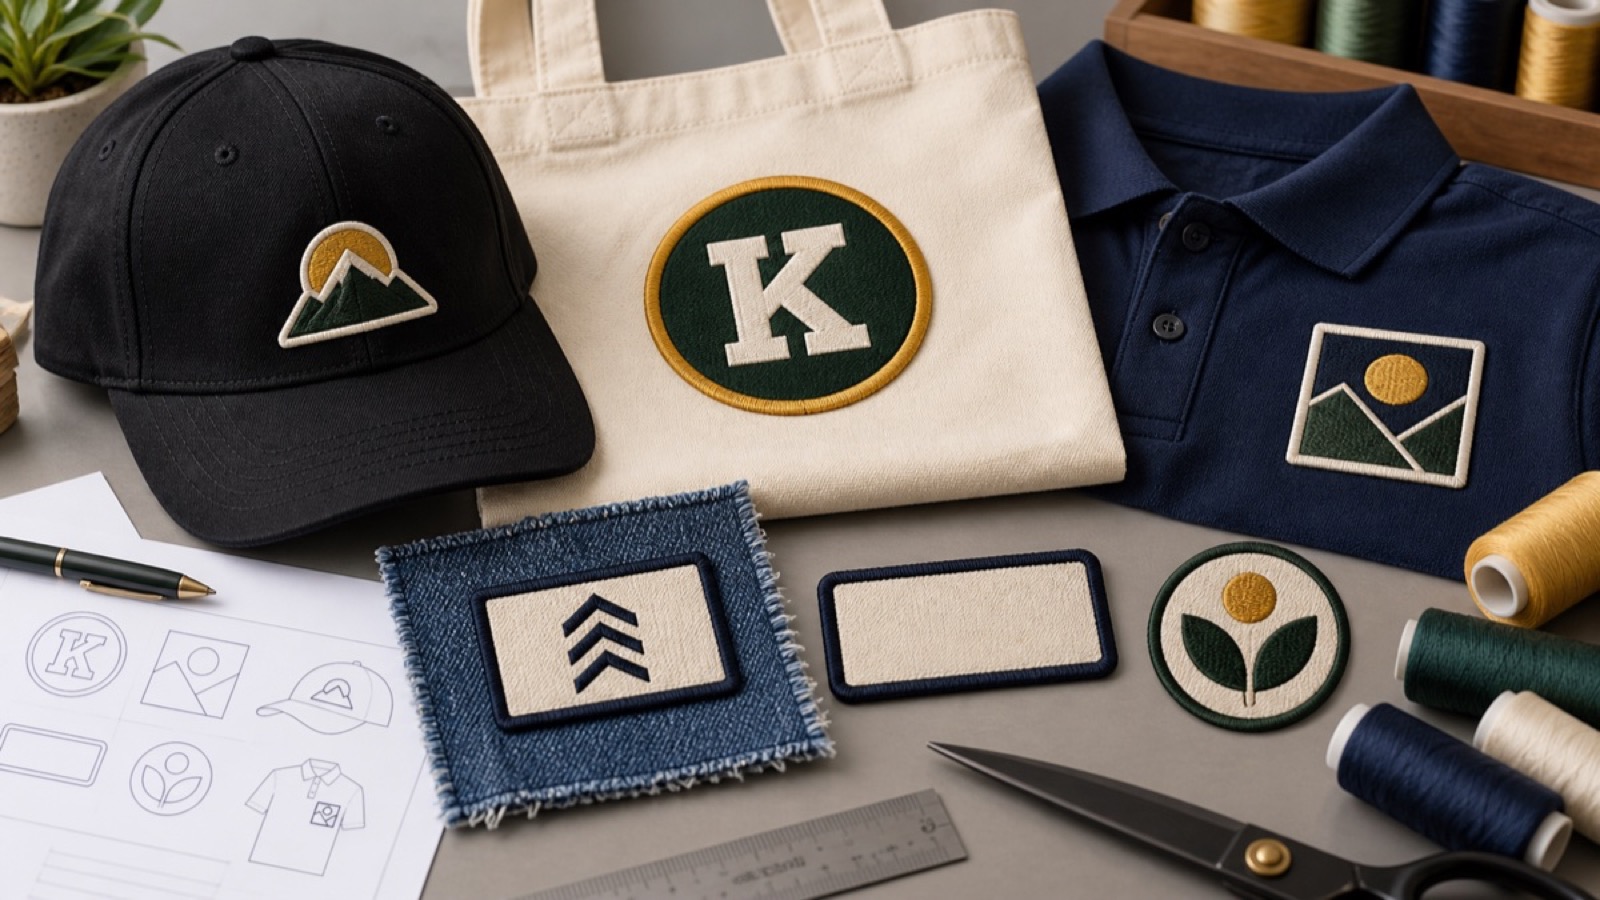
- Uniforms & workwear — consistent branding that is easy to update.
- Caps & beanies — a patch front is a streetwear staple.
- Bags & backpacks — durable branding on tough surfaces.
- Events & teams — collectible badges people love to keep.
Our take
If you want one logo that travels everywhere and always looks premium, a custom embroidered patch is hard to beat. Choose a bold design, the right border, and a backing that matches how the item will be used — and you will have a badge that looks fantastic and lasts for years.
Thinking about patches for your brand or team? Send us your logo and we will suggest the best shape, border and backing to bring it to life.
Wondering what custom patches should cost? Our embroidery cost guide breaks down patch pricing by market tier.
Written by
Kashidha Designs
Related Articles